Showing posts with label Favors. Show all posts

June 30, 2014

DIY Party Loot Bags

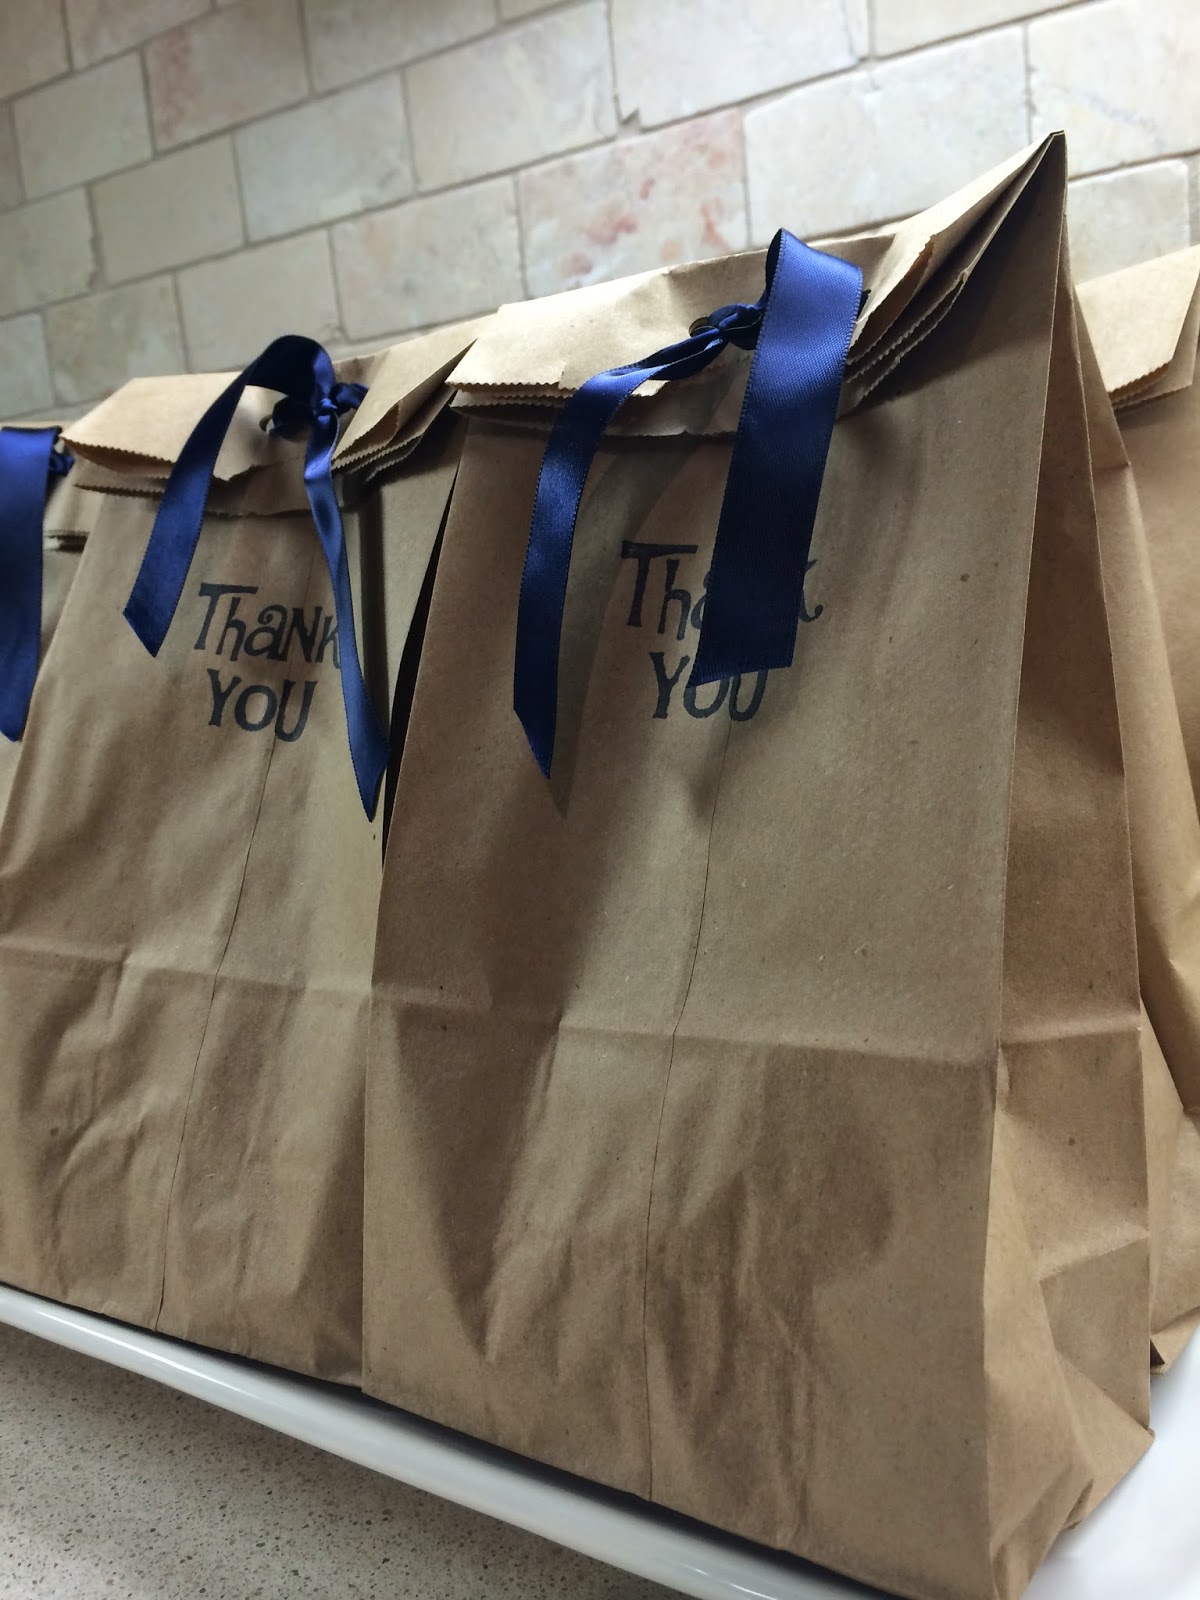
Well it's official...my little baby boy is 1 year old. We recently celebrated with a Teddy Bear Picnic themed birthday party. In keeping with the theme, I put together these cute (and super simple) loot bags.

Source: Simply Sophisticated Events

 
Filled with outdoor toys like sidewalk chalk, bubbles, bouncy balls, kazoos, and stickers, these loot bags were easy and inexpensive to put together. All you need are paper lunch bags, a stamp and ink, and some ribbon. The great think about these loot bags is that you can customize them for any event you might be hosting. By changing up the stamp and ribbon, you can use them as favour bags for a bridal or baby shower, lunch bags for a picnic-themed party, or even doggy bags for a dinner party.

The first step was stamping the paper bags with a "thank you" message. I chose to use black ink because it would show up on the brown bag best. But you can definitely think outside the box on this step and match the ink colour to your theme.

Source: Simply Sophisticated Events

Next, I used a single hole punch to punch out two holes so that I would be able to thread the ribbon through to keep the bag closed and make it easier to carry.

Source: Simply Sophisticated Events

After filling the bag with all the toys, I threaded the ribbon through the two holes and tied a simple double knot. I chose to use grosgrain ribbon, but there are quite a few options you can use to tailor the look to your event's theme. I think this would look great using raffia, twine string, leather cord, yarn, etc. You can also add a personalized name or favour tag at this stage.

Source: Simply Sophisticated Events

So three easy steps and you have cute, personalized favour bags that can be used for multiple occasions.

I'll be posting more ideas and pictures from my son's Teddy Bear Picnic themed party so check back soon!


August 31, 2011

DIY Homemade Limoncello Favors

Homemade Limoncello tutorial by TheKnot.com. 

Start this recipe about six months before your wedding and you'll have an excellent favor to hand to your guests at the end of the night.
What You Need
Step One
{Source: Annabelle Breakey}
  • one bottle everclear (at least 151 proof)
  • one bottle vodka (80-100 proof)
  • 15-20 large thick skinned bright yellow lemons
  • large clear glass jar (to hold your mixture)
Step Two
  • 3-4 cups filtered tap water or distilled water (not mineral water)
  • 3-4 cups pure white sugar
  • cheese cloth
How to Make It - Step One

Day 1
  • Pour the bottle of everclear and the bottle of vodka into the large glass jar.
  • Clean all of the lemon skins thoroughly with a vegetable brush. Dry the lemons. Use a peeler or zester to zest the yellow part of the skin off the lemons. You don't want any pith (the white part) to get into the mixture, this will make it bitter. Try to make the pieces as large as possible, it will make the straining process easier.
  • Add all of your lemon zest to the jar and stir gently.
  • Cover the jar tightly with a lid and store in a cool, dark spot (not in the fridge).
  • Stir your mixture about once a week. Let the mixture sit for anywhere from 8 days to 40 days. The mixture should turn bright yellow and start to smell like lemons.
Next
  • Gently stir lemon peels.
  • Scoop out one of the larger peels and test the flexibility. Ideally, when the peel breaks like a potato chip, you know you're ready to move on to the next step.

How to Make It - Step Two

Day 1
{Image and free DIY template by Matt Bites}
  • Dissolve the sugar in the water and bring to a boil over high heat on the stove. Boil for 5 minutes or until the mixture is totally clear. This should make you 3-4 cups of simple syrup.
  • Set aside the simple syrup to cool.
  • When cool, add the simple syrup to your mixture. The more simple syrup you add, the lower the overall alcohol content you'll have and the more syrupy your limoncello will be. As you stir the mixture should start to feel more like a liqueur.
  • Return the infusion to a cool, dry place for up to 40 days (or for at least 8 days), and repeat the process of gently stirring the mixture about once a week.
  • The mixture should look bright yellow, and once everything settles, it should be fairly clear.
Next
  • Filter your limoncello using the cheese cloth and a funnel and strain into smaller bottles. Flip-top 80ml clear glass bottles are an excellent size for wedding favors. Just make sure whatever bottle you pick can seal tightly.
  • Since it's homemade, your limoncello should be consumed within about 6 months for the best taste. It will get smoother with age.

Notes:
*Depending on how much simple syrup you added, your limoncello will be about 45% alc/vol.

*Serve your limoncello chilled in a small cordial glass, a shooter, or in a lowball glass over ice.


August 26, 2011

Creative Wedding Ideas

If you're looking for ways to be creative at your wedding, shower, birthday party etc. there's a few really unique products we've seen floating around that you might love.

Skip the traditional guest book for this Custom Puzzle Guest Book by Bella Puzzles Too. This puzzle is made of wood and can be customized. Visit Bella Puzzles Too for more information on how to place a custom order.

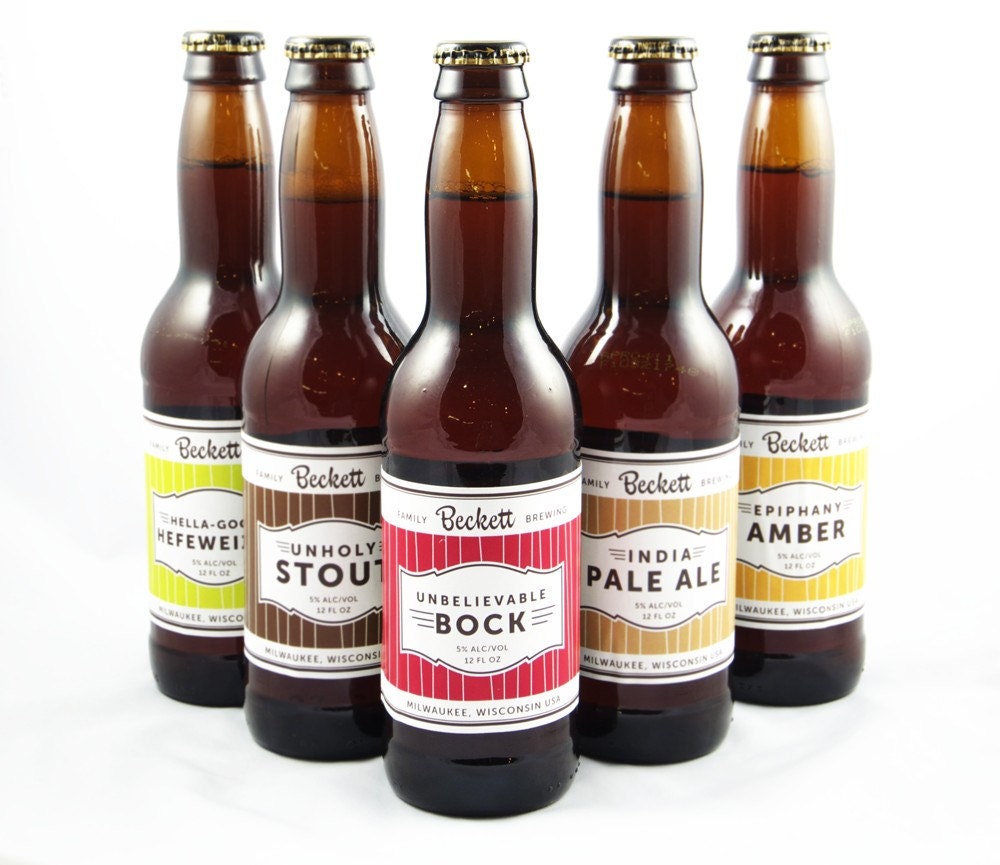
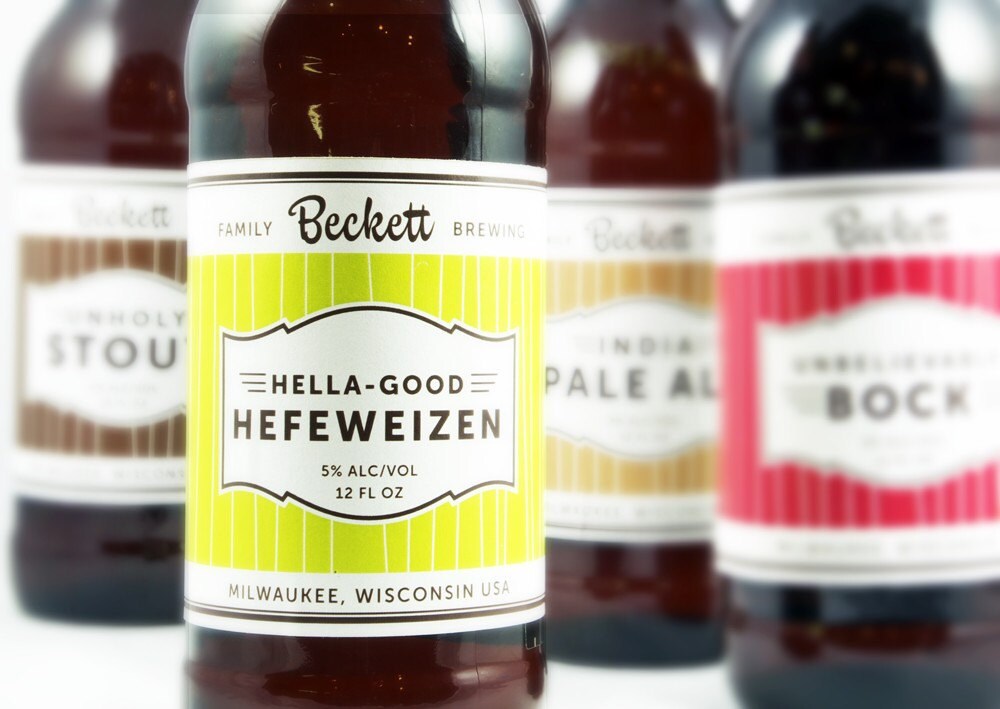
Are you having a beer themed party or hosting your wedding/shower at a distillery? Here's a different type of favour to give out to your guests: personalized beer: Girl In Gear Studio offers personalized waterproof beer labels. Visit Girl In Gear Studio for more information, pricing and design options.

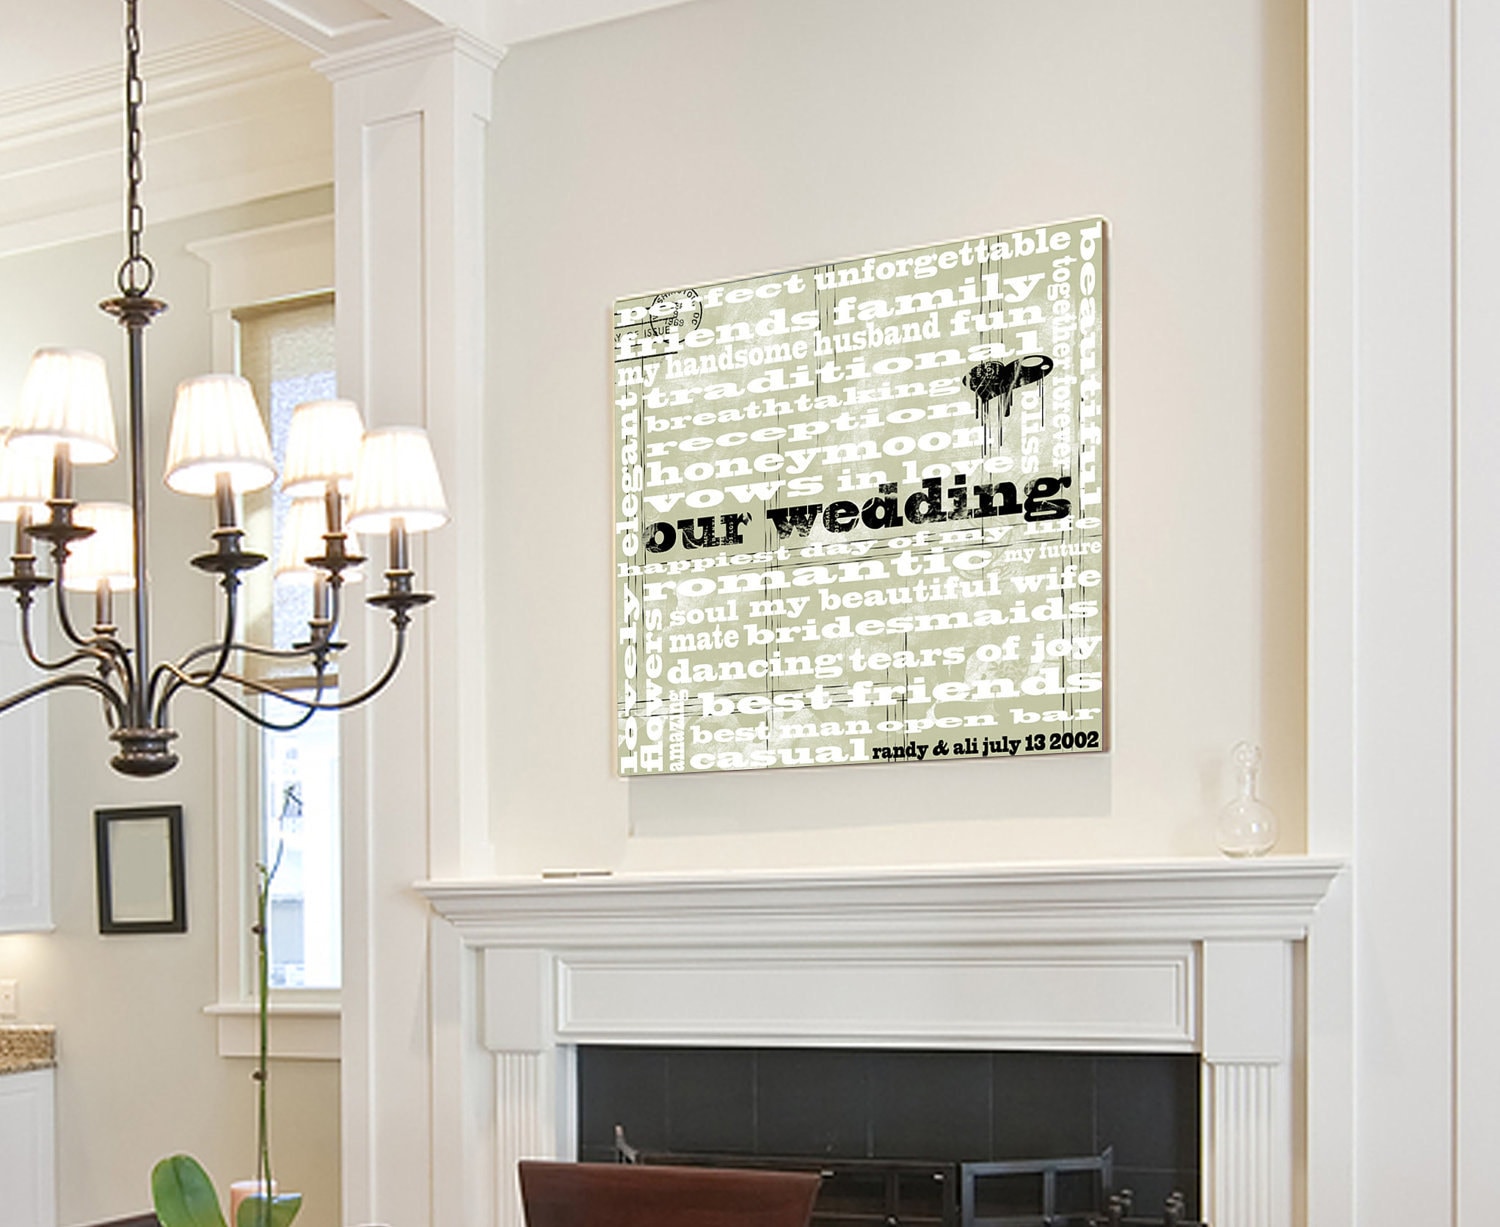
Preserve your wedding vows in the most unexpected way with this Personalized Wedding Vow Wall Art Plaque by Nice Day 4 A White Wedding. This amazing canvas really needs no introduction, we think it's one of the most romantic ideas ever! Visit Nice Day 4 A White Wedding for more information.


How are you bringing some creativity to your special event?

March 30, 2011

Vendor Spotlight: This Fine Day Online Wedding Boutique


Who: Christine Shelton of This Fine Day, an online wedding boutique selling hand crafted wood place card holders, candle holders and handmade hair accessories, located in Portland, Oregon USA.

How It All Started

What inspired you to open your Etsy shop?
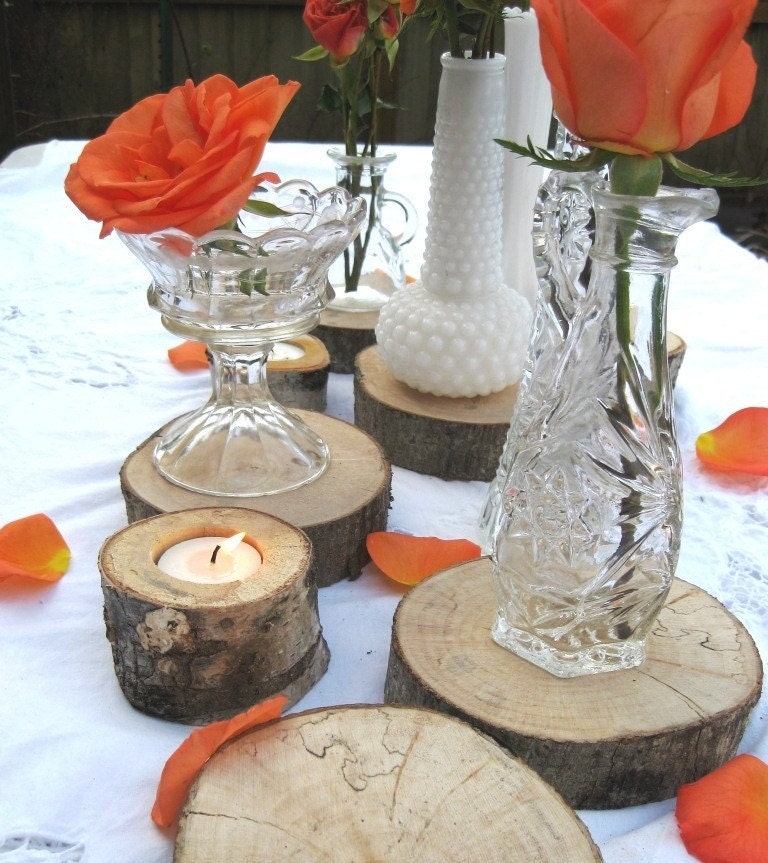
Actually my friend was preparing for her wedding and wanted to add a bit of Portland to her destination wedding in Fresno, California, and asked me if I knew anyone who could make some little round stump place card holders. My husband used to run a contracting business and had all sorts of saws, and we also had a shed full of wood from a fallen tree, so, I told her to give me an hour and I would make one for her. It was perfect and just what she wanted. We made 200 of them for her wedding and about a week later I decided to put a few up online to see if anyone else would be interested in them. It turned out they were a hit there too. Now I'm focusing on developing new products and keeping up with other wedding trends however the rustic wedding theme never seems to go out of style luckily!

How did you come up with the name for your company?
I remember thinking of the band A Fine Frenzy and how their songs and videos made me feel. I wanted the name to be sweet and simple but memorable. I liked the flow of A Fine Frenzy, especially the word fine. I figured This Fine Day would embrace the present tense: while every day is a fine one, collectively you are building the blocks towards that special day (your wedding day).

How long have you been in business?
This Fine Day has been open since May 2010 however, I also run a jewelry shop one Etsy that has been in business since 2009. When I opened the jewelry shop, I always paid special attention to the Etsy success stories, tips, articles and the seller handbook to help me learn what would and would not work with setting up shop (with images etc.) When This Fine Day started to take off, I really put my research to work to build my shop and shortly after (October 16, 2010) I quit my job as a web publisher to work for myself full time.

Why the wedding industry?
I kind of just fell into it. I was planning my wedding while I opened my shop and was very into DIY projects and organic products. While I was planning my wedding simultaneously with my friend, I realized just how much people spend for that one day even if they are trying to keep a low budget. People will always get married no matter what the economy looks like, I just need to have a broad range of products to accommodate every type of budget.

How soon should a bride place their place cards and other accessories?
My goal is to have orders shipped within 5-7 days by priority mail (so orders arrive 2-3 days after shipping). I recommend planning for 10 days total before you need the product. I am able to accommodate rush orders and have successfully delivered products to the brides front door in 5 days total.

What makes your Etsy shop so unique?
My market research shows that there is only one other wood shop that has more than 85% of their items geared to the wedding industry. At This Fine Day, when an order comes through I am the only one who handles it from beginning to end, allowing me to stay organized, prioritize orders as well as offer superior quality control over each place card holder I produce.

What are 3 must have items from your shop you think every bride should have?
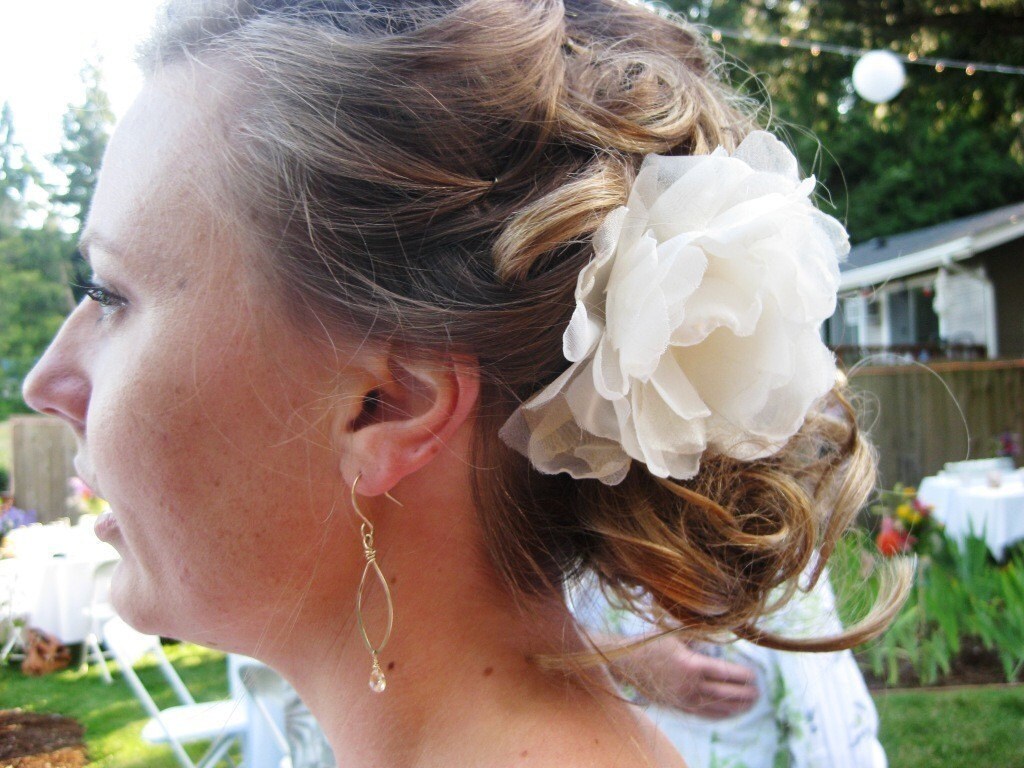
That's tough because not every bride can incorporate wood products into their wedding theme. So from that perspective I'd say the Ring Pillow because it comes with a variety of different coloured flowers and ribbons, the Ivory Chiffon Hair Flower and the Custom Love Bird Wedding Signs.

Having Fun And Getting Personal

What do you do when you’re not creating and designing custom favours?
You can find me spending time with my amazing friends, my 2 year old nephew and family, playing bass in a local rock band called Love Lies Dying, cooking, dreaming, running, painting, and designing web pages...whew!

What are 5 things people don’t know about you?
Well there isn't much that my friends and family don't know about me but I'd have to say the following for everyone else:
  1. I feel inclined and almost determined to do a dare if confronted with it.
  2. I'm pretty reserved but can bust out some mean moves on the dance floor. Including but not limited to the worm and what I have trade marked as a "happy dance". It really can get quite hilarious at times!
  3. Apparently I'm a pool shark. For years I was terrible at billiards and was determined to turn that around, and have finally succeeded.
  4. I'm deathly afraid of heights and of growing old.
  5. The one thing I wish I could do but can't is sing.
 Final Thoughts

What is new for Spring/Summer 2011 for This Fine Day?
A line of bridal jewelry, possibly cake stands (need a large band saw) and  centerpieces.

Is there anything else you’d like to share?
I would love to hear ideas for custom orders or new products if anyone is inclined.

How can readers connect with you?


February 18, 2011

DIY Flower Headband Tutorial

We're taking a break from the usual wedding post today to share a cute idea for a little girls birthday party that we found on the blog Ruffles and Stuff. 

Blogger (and mom to a super cute little girl) Disney recently threw her little princess a birthday party filled with tons of DIY projects. Even the paper plates were custom cut for a little extra flair.

While looking through her photos and DIY tutorials, we loved these home made flower headbands that she used in the children's loot bags.

{Photo: Ruffles and Stuff Blog}

To learn more about the birthday party and how she made the headbands and other decorations, click here.


May 08, 2010

DIY Favor Idea: Great for Mother's Day

Looking for a last minute idea to personalize your sweet table? Thanks to the folks at TomKat Studio, you can personalize any yummy favor with these DIY Printable Party Cards.

While these are perfect for Mother's Day, you can use this idea to personalize any cupcake, cake, brownie or other yummy treat for any event. We think they're perfect for baby showers, bridal showers, weddings and even theme parties (think Valentine's Day or St. Patrick's Day).

Click here to access TomKat Studios (also known as Project Nursery) DIY Printable Party Circles and Gift Tags.

Looking for a great DIY blog to browse through? We love TomKat Studios blog, it's filled with great ideas and unique projects. Check them out!


March 20, 2010

A Little Bit of Martha Goes a Long Way


This week we thought we'd share some of our favourite Martha Stewart Wedding links and ideas to help you with your Spring wedding planning. From colour palletes to DIY ideas, our girl Martha knows how to plan the perfect wedding!

Colour Inspiration: Perfect Palletes

DIY Brides: Templates, Stationary, Decorations, Favors

Floral Favourites: Bouquets, Flower Types

Budget Brides: Martha's Online Wedding Invitations


*Photo Source: Martha Stewart Living Omnimedia Inc.

February 08, 2010

Vendor Spotlight: By Design Gifts


Established in 2007 as an online boutique, By Design Gifts was created out of the need for unique, trendy yet practical baby gifts and accessories. In 2009, Owner Tina Labonte-Gordon made the big leap and opened a storefront in Burlington, Ontario, adding a variety of gifts for all occasions.

"From birth onward to every celebration, milestone and remembrance, we pride ourselves in customizing the gift for your occasion, to make it special and personal. If you don't see it on our site, just ask and we will do all we can to create that something special," Tina says on her company website.

Not only can you find one-of-a-kind diaper cakes, baby accessories and other special occasion gifts, By Design Gifts also offers shipping on each item. Customers can also have their creation gift wrapped with a special, personalized message attached to each bundle. More information on shipping, pick-up and worldwide delivery can be found here.
 
To learn how to place an order (phone, e-mail or via online) click here.
 
*Diaper Cake photo courtesy of By Design Gifts. Click here for product details.

Our favourite By Design Gifts finds:

February 01, 2010

Valentine's Day Kick Off: Wedding Treats

Top off your Valentine's Day theme by offering your guests some romantic treats to nibble. Here are a few ideas to get you started: 

November 13, 2009

DIY Wedding Favor Ideas

Wedding favors can be a great way to show your guests how much you appreciate them. When a bride is having a hard time deciding on what to give to her guests, we usually suggest something that is personable. Sometimes the best gifts are ones that really reflect the bride and groom's personalities.

Another thing we love are Do It Yourself (DIY) favors. Just like DIY Invitations, making your own favors are a great way to save some money. Here are some neat examples of some DIY ideas:
  • Make your own truffles and display them in DIY candy boxes. We love the ones at Bellaterra. Click here for their amazing collection of personalized favor boxes. If you're looking for your own DIY Kit, they have those too! Click here to see.
  • Make your own wine and dress it up with cute, personalized labels. Having a winter wedding? Why don't you give your guests mini bottles of ice wine? You can also personalize the labels with your names and wedding date.
  • Everyone loves a little sweet treat, try making your own mini cupcakes with your initials. Stumped on wrapping ideas? Try wrapping them in cellophane and tie with a bow that matches your colour theme. Want to tie a personalized gift tag to the parcel? We love these tags from StickerMeChic.

October 29, 2009

Last Minute Halloween Party Solutions

Are you looking for some last minute Halloween party ideas? With Halloween creeping right around the corner (literally), we thought we'd dedicate today's post to help you with some finishing touches to your Halloween bash - we've put together a list of easy and inexpensive suggestions that are sure to blow the crowd away!

From spooky drinks to yummy treats, we've covered all the bases you need to complete your party spread. Read below for our list of Halloween Party Solutions.


Thirst Quenchers


Thrilling Games & Activities
Ghostly Gingerbread Houses
Please click here for other Party Games


Decorations


Spooky Table Set-up
Happy Haunting Everyone!

LinkWithin

Related Posts with Thumbnails